


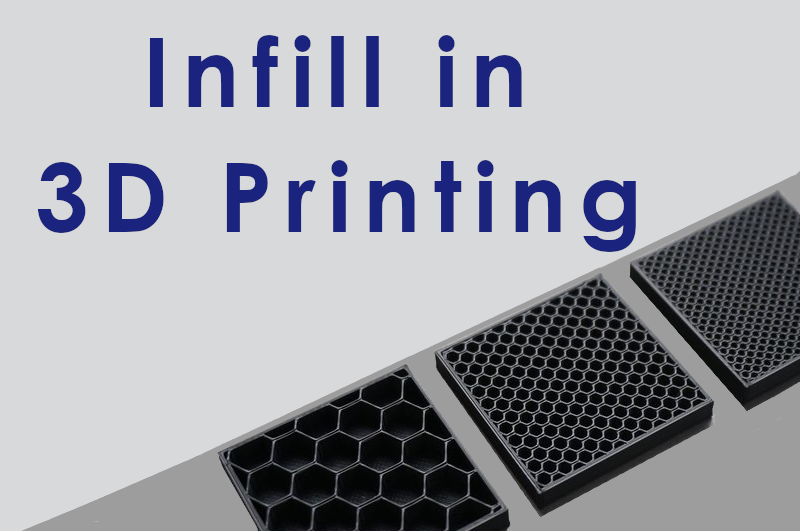
What is Infill in 3D Printing – Detailed Guide 2021
Infill in 3D printing plays an important role in part weight, structure, and strength.
3D printing allows careful control of two mutually exclusive yet exhaustive aspects: exterior walls (or perimeters) and infill. The walls, however thick, form the outermost regions of the part, while the infill is whatever exists within them.
Though one does have some control over the walls, the infill is far more dynamic and plays an enormous role during a part’s strength, weight, structure, buoyancy, and more. In 3D printing, you have the flexibility to define various parameters that govern the infill used for an element. These parameters are set during a slicer program when a 3D model is translated into G-code instructions.
The most important of those parameters fall into two fundamental aspects: infill density and infill pattern. We’ll re-examine the fundamentals of those aspects during this article as a number of the foremost common densities and patterns. But first, let’s examine “infill” across a pair of various manufacturing methods to understand higher how it works in 3D printing.
Infill pattern types
There are plenty of pattern types in 3D printing. I will be explaining a few here as covering every pattern would be typical.
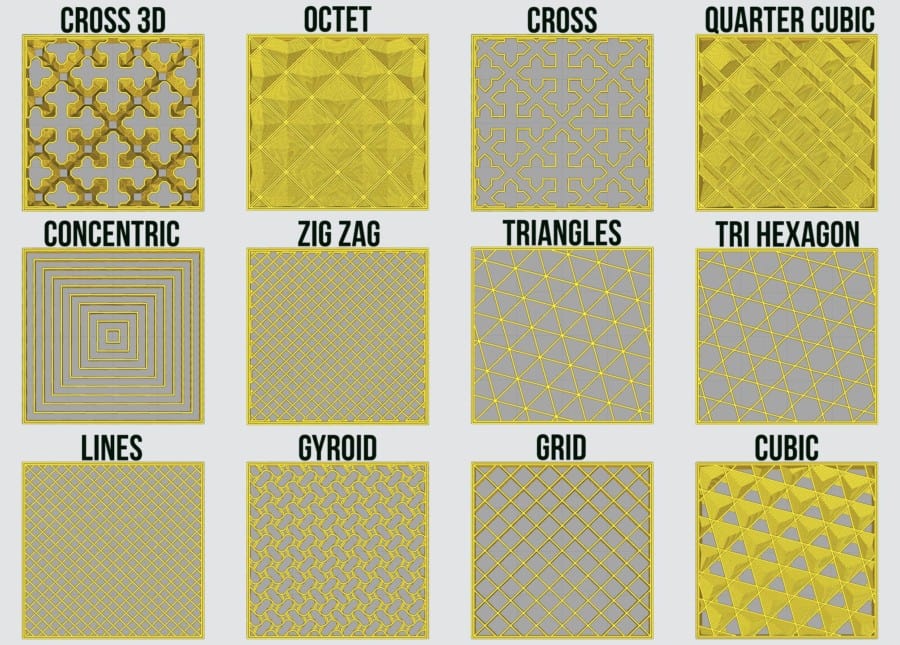
Lines: The lines infill pattern contains lines printed in one direction (either together with the X- or Y-axis) every other layer. This infill pattern provides strength in precisely two dimensions and is nice for quick prints. The lines pattern doesn’t use an excessive amount of material and keeps weight pretty light.
Honeycomb: Because the name implies, this pattern produces a honeycomb structure, making for an appealing visual. This infill pattern is sweet for semi-fast prints that need moderate strength, and it shouldn’t consume an excessive amount of material.
Grid: The grid infill pattern is comparable in look to lines, but rather than one-directional lines every other layer, it contains two-dimensional lines every layer, with twice the maximum amount of space in between lines. This infill pattern provides two-dimensional strength but still is somewhat strong. The grid pattern consumes a median amount of fabric and takes a middling time to complete.
Triangles: The triangles pattern sounds like overlapping triangular lines, with lines stepping into three directions within the XY plane. This infill pattern provides strength only in two dimensions but still works for prints that require to be strong.
Tri-hexagon: The tri-hexagon infill pattern contains an assortment of lines getting into three directions within the XY plane, creating hexagonal patterns with triangles in between. This infill pattern provides strength in two dimensions and is pretty decent for strong prints.
Cubic: This pattern produces stacked cubes, but because they’re tilted by 45 degrees around both the X- and Y-axes, they seem more like triangles at any one moment. The pattern provides excellent strength in three dimensions but takes a bit more material and time than others.
Octet: The octet infill pattern is comparable to the cubic pattern, but rather than increasing sloped triangles, the octet pattern materializes as squares. This infill pattern could be a three-dimensional pattern that not only looks really great but is additionally useful for parts that need strength.
Gyroid: The gyroid infill pattern is maybe the good looking but strangest infill pattern. It includes concaving irregular curvatures that eventually cross paths. It’s meant to strike an optimal balance between strength, material, and print time.
Concentric: The concentric infill pattern is an interior structure composed of concentric lines that match a part’s outline (i.e. its perimeters). This pattern is quick to print, good for flexible parts, and consumes significantly less material than most patterns.
Density
Infill density is that the “fullness” of the within of part. In slicers, this can be usually defined as a percentage between 0 and 100, with 0% making a component hollow and 100% completely solid. As you’ll be able to imagine, this greatly impacts a component’s weight: The fuller the inside of a part, the heavier it’s.
Besides weight, print time, material consumption, and buoyancy also are impacted by infill density. So, too, is strength, albeit together with many other elements like material and layer height.
Some slicers also give different infill densities within the identical part. This can be referred to as variable infill density, and specific settings within the slicing program allow you to specify any density changes you would like for various areas of your print. We’ll return to the present topic a bit later.
What Percentage Should I Use?
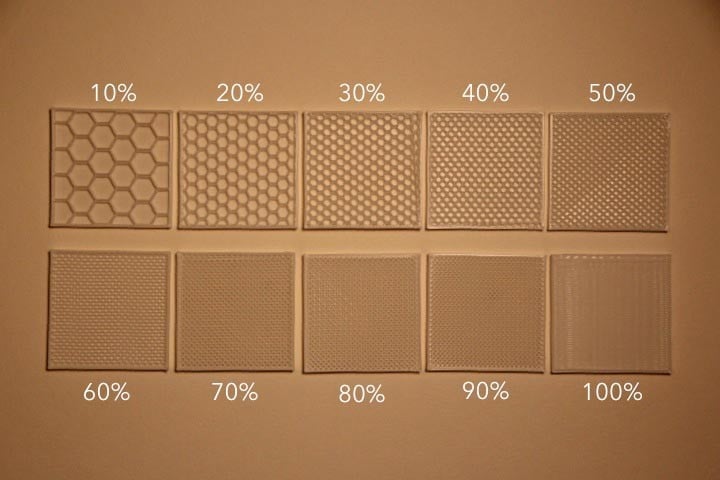
For most “standard” prints that don’t have to be super strong, we recommend using an infill density of 15-50%. This density percentage keeps print time low, conserves material, and provides okay strength.
Functional prints must be strong. Therefore, we recommend employing a higher infill: over 50% (don’t be terrified of going as high as 100%). The setting is extremely high, so be prepared to attend longer for the print and to consume more filament. The payoff are going to be a stronger and heavier part.
For small figurine models meant for display purposes only, you must think about using an infill density of 0-15%. This value will end in a reasonably quick print and won’t consume that much filament in any respect. Models printed with this range of density are going to be lightweight and not very strong.
Finally, any infill density should work for parts printed in flexible materials like TPU. Detain mind, however, that the upper the infill density, the less flexible the part are going to be.
Importance of Infill
All users of 3D printers know that 3D printed parts have two distinct zones, the shell and also the fill (infill). the right parameterization of these two values influences the mechanical resistance, the finish, the printing time and also the cost. The shell are the outer walls of the piece during which both the layers up-to-date with the printing base and, therefore, the top layers that attribute the ultimate surface finish are included.
Final Words
Here, in this article, we learned about what is infill, its patterns and what are the different percentages of infill and the importance of infill. Hope you learned something from the article.
Also, do you know? You can use our affordable online 3D printing service to print 3D models and get them delivered to your doorstep in as little as two days. We offer instant quotations.