


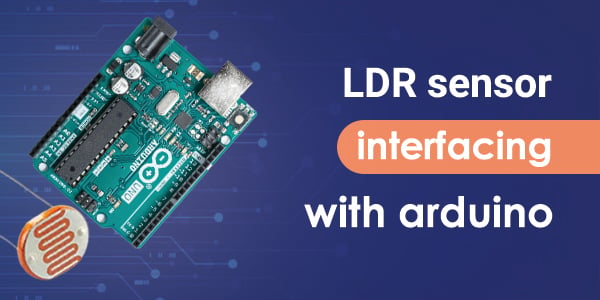
Interfacing LDR with Arduino – Step by Step Guide with Code
LDR SENSOR is nothing but a light-dependent resistor, its resistance changes according to changes in light intensity. In this blog we will discuss what LDR SENSOR is and how it can be used with the Arduino Development Board.
A light-dependent resister is also known as LDR SENSOR, which is used to detect the intensity of light. In this blog we will discuss what LDR SENSOR is and how it can be used with the Arduino Development Board.
Have you seen the stud lights? For those who do not know, stud lights are LED that are mounted on the road and used as indicators. Remembered !! That’s right, I’m only talking about those LEDs. These indicators only turn on during the night and are off during the day. But wait, how do they know, is it day or night?
Actually, when I was new in electronics, I was very keen to learn about this thing, but then when I read some articles, and I understood the real reason behind it. And the reason behind this was LDR SENSOR.
Those stud lights have LDR SENSOR, battery, controller unit and solar panel inbuilt. In the daytime, when there will be sufficient sunlight, the controller unit receives input from the LDR sensor and according to the received input the control unit either charges the battery or turns on the light.

LDR Working Principle
LDR SENSOR is nothing but a light-dependent resistor, its resistance changes according to changes in light intensity.
The LDR SENSOR is made of photosensitive material. The zig-zag lines you see on the sensor are nothing but a photosensitive material.
When light falls on this material the resistance of the material changes and hence conductivity. This was the original operation of LDR SENSOR Now we will learn how to interface LDR SENSOR with Arduino uno.
Connections
By now you know what LDR SENSOR is? And working principle of LDR sensor. In this section of this blog we will learn how to use LDR SENSOR with Arduino?
As you know, the LDR sensor is only a resistor and can be directly connected to any GPIO pin. So for this application we are connecting this LDR SENSOR to A1 pin of Arduino and connecting the second pin of LDR SENSOR to the 5v pin of Arduino.
const int ledPin = 13; const int ldrPin = A0; void setup() { Serial.begin(9600); pinMode(ledPin, OUTPUT); pinMode(ldrPin, INPUT); } void loop() { int ldr = analogRead(ldrPin); if (ldrStatus <= 200) { digitalWrite(ledPin, HIGH); Serial.print(“Its Night Time, Turn on the LED : “); Serial.println(ldr); } else { digitalWrite(ledPin, LOW); Serial.print(“Its daytime, Turn off the LED : “); Serial.println(ldr); } }
What we are doing in the above code, we are reading the output of the LDR sensor using the analogRead function.
And then we are printing the output to the serial monitor.
Now suppose you have an LED bulb and which you only want to turn on at night, then you can use the following procedure.

How To Turn On The LED Bulb Using LDR Sensor?
As you are now fully aware of the functionality of LDR SENSOR, we will now implement that functionality in our application.
As we know, when there is no light, the output of the LDR SENSOR will be low and when the light is directed at the LDR, the output of the LDR will be high.
So, what you need to do is, you have to connect the LED bulb to the relay module and the input pin of the relay pin module to the arduino. By the way, We have written a blog on how to interface relay module with arduino.
So if you are new and don’t know how to use relay module then we request you to check this blog of ours.
Now, in coding you have to write another expression and that expression will be as follows:
If the output of the LDR sensor falls below 10, we will turn on the relay module and when the output of the LDR goes above 100 we will shut down the relay module.
Application of The LDR
- In stud lights – As discussed in the earlier sections of this the LDR sensor can be used in the stud light for detecting sunlight.
- In alarms and street lights.
Conclusion:
So, in this blog, we understood about LDR sensor and its working principle. If you have any doubts, please let me know in the comments section, I will be happy to address your doubts.

Output of the LDR