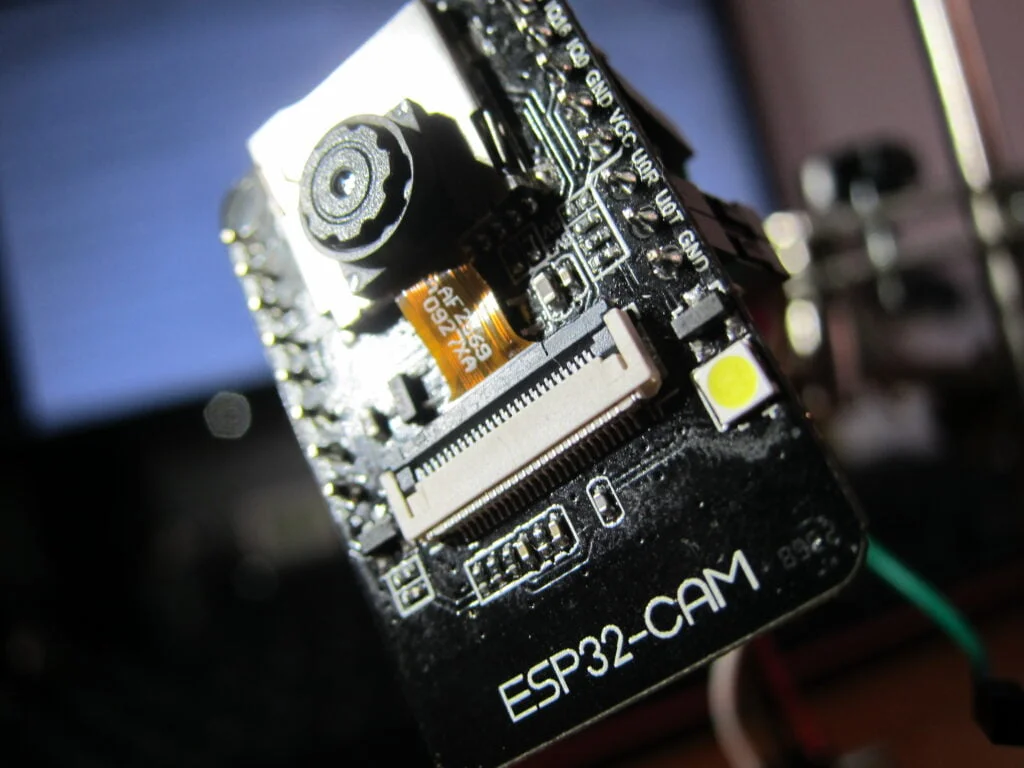
The ESP32 Cam is a powerful microcontroller with integrated Wi-Fi and Bluetooth capabilities, and a built-in camera module. It is an ideal platform for developing a wide range of applications, from simple video streaming to more complex tasks such as face detection.
In this tutorial, we will guide you through the process of setting up the ESP32 Cam for video streaming and face detection using the Arduino IDE.
Requirements:
- ESP32 Cam module
- Arduino IDE
- USB to UART converter
- Micro USB cable
- Breadboard and jumper wires
Step 1: Install the ESP32 Board in Arduino IDE To get started, we need to install the ESP32 board in Arduino IDE. Follow the steps below:
- Open the Arduino IDE and go to File > Preferences.
- In the Additional Boards Manager URLs field, add the following URL: https://dl.espressif.com/dl/package_esp32_index.json
- Go to Tools > Board > Boards Manager.
- Type “ESP32” in the search field and install the ESP32 board by Espressif Systems.
- Select the “ESP32 Wrover Module” board from the Tools > Board menu.
Step 2: Wiring Connect the ESP32 Cam module to the USB to UART converter as shown in the diagram below:
ESP32 Cam USB to UART converter
5V 5V GND GND U0T RX U0R TX
Note: The U0T pin on the ESP32 Cam is the TX pin, and the U0R pin is the RX pin.
Step 3: Upload the Code Now it’s time to upload the code to the ESP32 Cam module. Open the Arduino IDE and paste the following code:
#include “esp_camera.h”
// Replace with your network credentials const char* ssid = “your_SSID”; const char* password = “your_PASSWORD”;
void setup() { Serial.begin(115200); camera_config_t config; config.ledc_channel = LEDC_CHANNEL_0; config.ledc_timer = LEDC_TIMER_0; config.pin_d0 = 5; config.pin_d1 = 18; config.pin_d2 = 19; config.pin_d3 = 21; config.pin_d4 = 36; config.pin_d5 = 39; config.pin_d6 = 34; config.pin_d7 = 35; config.pin_xclk = 0; config.pin_pclk = 22; config.pin_vsync = 25; config.pin_href = 23; config.pin_sscb_sda = 26; config.pin_sscb_scl = 27; config.pin_pwdn = 32; config.pin_reset = -1; config.xclk_freq_hz = 20000000; config.pixel_format = PIXFORMAT_JPEG; if(psramFound()){ config.frame_size = FRAMESIZE_UXGA; config.jpeg_quality = 10; config.fb_count = 2; } else { config.frame_size = FRAMESIZE_SVGA; config.jpeg_quality = 12; config.fb_count = 1; }
// Camera init esp_err_t err = esp_camera_init(&config); if (err != ESP_OK) { Serial.printf(“Camera init failed with error 0x%x”, err); return; }
WiFi.begin(ssid, password); while (WiFi.status() != WL_CONNECTED) { delay(1000); Serial.println(“Connecting to WiFi…”); }
Serial.println(WiFi.localIP());
Written by kanchan kan
- Industrial Automation141141 products
- Cooling Fan44 products
- Indicators1111 products
- Plastic Casing66 products
- Sensor2323 products
- Sleeve and cables55 products
- SMPS88 products
- Solid State Relay Module22 products
- Switches1818 products
- Temprature Sensor11 product
- 3D Printing187187 products
- 3D printing116116 products
- Combination Kit4747 products
- Electronic737737 products
- Audio55 products
- Battery/Charger Accessories2828 products
- Capacitors6363 products
- Connector4646 products
- cooling fan11 product
- Diode3535 products
- Displays1212 products
- IC and Chips6464 products
- IOT and Wireless99 products
- Leds2424 products
- Microcontrollers55 products
- Modules/Shield7575 products
- MOSFET / IGBT1414 products
- Power Supply2525 products
- Resistors128128 products
- Sensors5959 products
- SMD2828 products
- Switches1414 products
- Transistors6767 products
- Wire and Cables1212 products
- Hardware3232 products
- Hand Tools1414 products
- Hardware Accessories1414 products
- Printing22 products
- RC Plane and Drone99 products
- Robotic147147 products
- BO Motors1313 products
- General Purpose DC Motors2929 products
- Motor Drivers88 products
- Robotic Wheels & Tyres1414 products
- Servo Motor2727 products
- Stepper Motors88 products
- Synchronous Motor11 product
- Science Fair Project7070 products
- Final Year Ready Project Kit11 product
- STEM KIT2222 products
- E Books88 products


Leave a Reply
You must be logged in to post a comment.