Automatic over temp detection and alert Ready DIY Experiments Science Project Model STEM KIT (Assembled), 100% Tested
Original price was: ₹1,025.00.₹599.00Current price is: ₹599.00. + GST
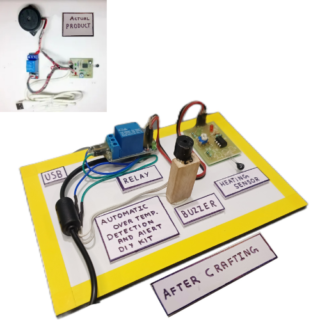
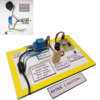
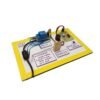
- Automatic Over Temp Detection and Alert – Complete assembled kit, 100% tested.
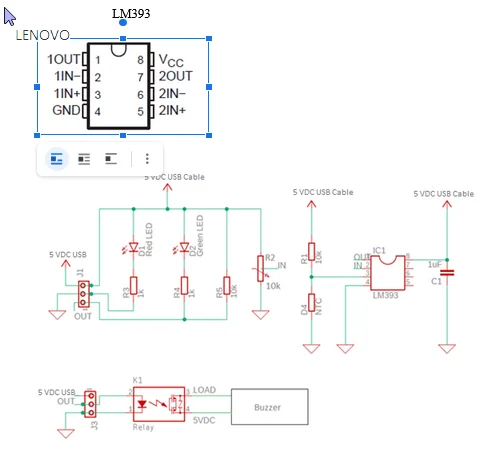
- Full documentation, including circuit diagrams, PCB layout, and testing guide.
- YouTube videos available for easy assembly instructions.
- https://youtu.be/07QBYB69fVU?si=UAtohVuQwSKT3sJf
- 100% support on working days (11 AM – 6 PM). Email: smartxbrains@gmail.com.
- Fastest delivery across India. Ideal for electronics projects, automation, and STEM education.
98 in stock
98 in stock
96 in stock
96 in stock
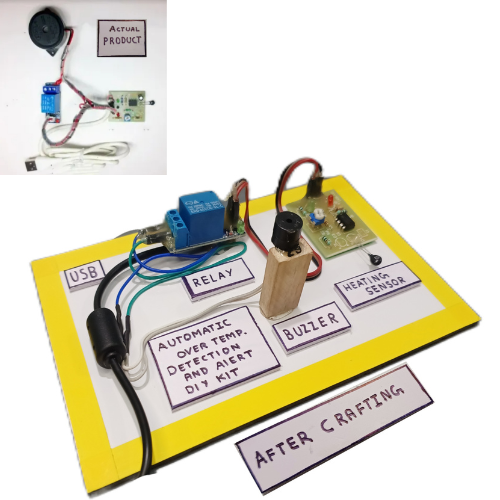
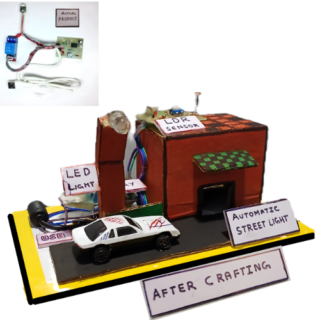
Please Note we are only providing kit we marked as ACTUAL PRODUCT, project shown customer needs to do at there own we just provide reference.
Abstract:
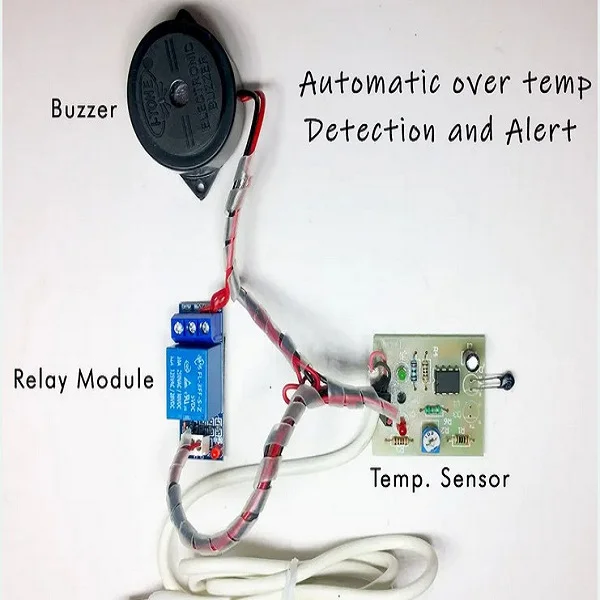
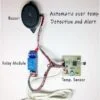
The Automatic Over Temp Detection and Alert circuit utilizes an NTC, LM393 comparator IC, and relay to detect and respond to temperature increases. The NTC functions as the temperature sensor, while the LM393 comparator IC processes the signal. In the absence of heat, the NTC stops conducting, keeping the LED and buzzer off. When temperature rises, the NTC starts conducting, activating the LED and buzzer to provide an alert.
Applications:
Most NTC-based circuits on the market use expensive or complex sensors. This circuit simplifies design by using readily available NTC sensors. The Automatic Over Temp Detection and Alert system ensures reliable performance in various electronics, automation, and educational applications, especially for environments in India.
Why This Circuit:
The circuit operates over a 5V DC supply, easily powered by a USB cable. NTC sensitivity can be adjusted by placing a soldering iron close to the NTC sensor. This makes it ideal for detecting temperature changes accurately in a wide range of electronic and automation projects.
Working Explanation:
The circuit design focuses on turning on an LED and buzzer when a temperature rise is detected. The NTC sensor acts as a temperature-sensitive resistor, while LM393 operates as a comparator IC. Relay acts as a switch, with normally closed contacts opening when activated. In normal conditions, the LED and buzzer stay off. Upon detecting increased temperature, the LED glows, and the buzzer sounds, alerting the user.
Building the Kit:
Read the manual thoroughly, assemble components on the PCB, and solder them in place. Resistors are identified by color codes, and capacitors are usually marked numerically. ICs are soldered into sockets to allow easy troubleshooting. Once assembled, connect a 5V DC power source and manually test by holding a soldering iron near the NTC to trigger the alert.
ICs Used:
LM393 – a popular and widely used dual differential comparator IC.
Part List:
- Semiconductors: LM393 (U1 – 8-pin base)
- Resistors:
- R2 – 10k Ohm (variable)
- R3 – 1k Ohm
- R4 – 1k Ohm
- R5 – 10k Ohm
- R6 – 10k Ohm
- Capacitor: 1µF (C1)
- Miscellaneous:
- NTC sensor (D4)
- Red LED (D1)
- Green LED (D2)
- Buzzer
- 5V USB Cable
- PCB
Key Applications:
Ideal for electronics projects, automation, robotics, and STEM education. Optimized for performance in Indian environments and conditions.
Keywords:
- Automatic Over Temp Detection
- Over Temp Alert STEM KIT
- DIY Electronics Projects India
- Over Temp Detection System
- STEM Kits for Automation







Vivek (verified owner) –
Very well worth the money.
smartxbrains –
Good quality.
Priya (verified owner) –
Drone parts i ordered and found ok
Harsh (verified owner) –
The product is firmly packed.
Komal (verified owner) –
Less cost than other websites
Harsh (verified owner) –
Best cost electronic components in India
Shubham (verified owner) –
Best cost electronic components in India
Vikas (verified owner) –
The product is firmly packed.
Akshay (verified owner) –
Online best cost electronic components