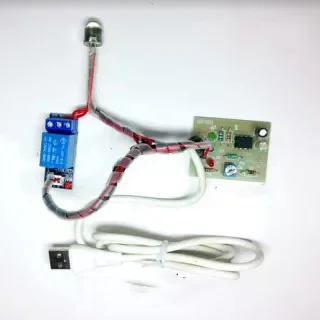
Transform Your Home or Classroom with the LDR-based Sunset Lamp Control Kit: A Step-by-Step Guide

The LDR-based Sunset Lamp Control kit offers a seamless and cost-effective solution to automate your lighting based on environmental light conditions. Here’s a closer look at how you can integrate this simple yet effective system into your home or classroom.
Step 1: Start by reading through the provided manual and understanding the components included in the kit. You’ll receive a PCB, LDR, resistors, capacitors, and more—everything you need for assembly.
Step 2: Solder the components onto the PCB following the manual’s instructions. Take special care with polar components like diodes and capacitors.
Step 3: Once the assembly is complete, connect a 5V DC power supply. Use your hand to interrupt the light falling on the LDR to test the circuit. When light is blocked, the lamp should automatically turn on. Adjust the variable resistor (R2) to fine-tune the light intensity detection.
Step 4: After testing, install the unit in your desired location, such as a ceiling or lighting setup, to control lamps based on ambient light.
This DIY kit is ideal for anyone looking to automate home lighting or teach students about basic electronics. With its straightforward assembly, real-world application, and educational value, it’s the perfect tool for STEM projects, home automation, or robotics.
Ready to get started? Purchase your LDR-based Sunset Lamp Control kit now and automate your lighting the smart way!
These blogs target different stages of the buyer’s journey: awareness (introducing the product), consideration (comparing with alternatives), and decision (demonstrating practical use). Each blog encourages readers to explore the kit further, with strong calls-to-action aimed at converting visitors into customers.


