Programming the Raspberry Pi Pico using MicroPython is a popular and accessible way to develop projects for this microcontroller board. Here’s an overview of the process:
Ensure you have the latest version of MicroPython firmware for the Pico. If not, download it from the official MicroPython website.
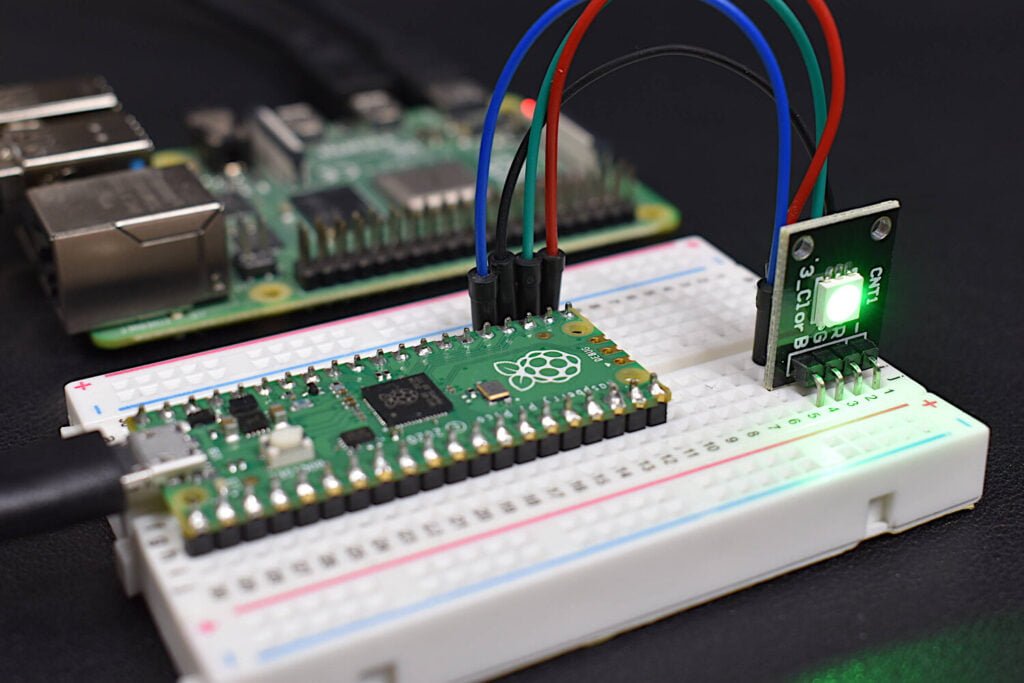
Connect the Pico to your computer using a USB cable. It should appear as a mass storage device.
Writing and uploading MicroPython code:
Use a text editor or an integrated development environment (IDE) to write your MicroPython code. You can use any text editor of your choice, such as Notepad++, Visual Studio Code, or Thonny.
Once you have your MicroPython code ready, save it to the Pico’s storage device. It acts like a USB drive.
After saving the code, the Pico will automatically reset and start executing the code.
Debugging and interacting with the code:
You can use the REPL (Read-Eval-Print Loop) to interact with the running code, similar to a Python shell.
To access the REPL, establish a serial connection with the Pico via a terminal emulator or the Thonny IDE.
Utilizing the MicroPython API:
MicroPython provides a comprehensive API that includes modules for interacting with GPIO pins, I2C, SPI, UART, and other hardware features.
Refer to the MicroPython documentation for specific module usage and examples.
Additional libraries and modules:
MicroPython has an extensive ecosystem of libraries and modules developed by the community that you can use to extend the functionality of your projects.
You can find these libraries on platforms like GitHub or the official MicroPython libraries repository.
Remember to refer to the official MicroPython documentation for detailed instructions, usage examples, and the MicroPython API reference. It’s a valuable resource for exploring all the capabilities of MicroPython on the Raspberry Pi Pico.