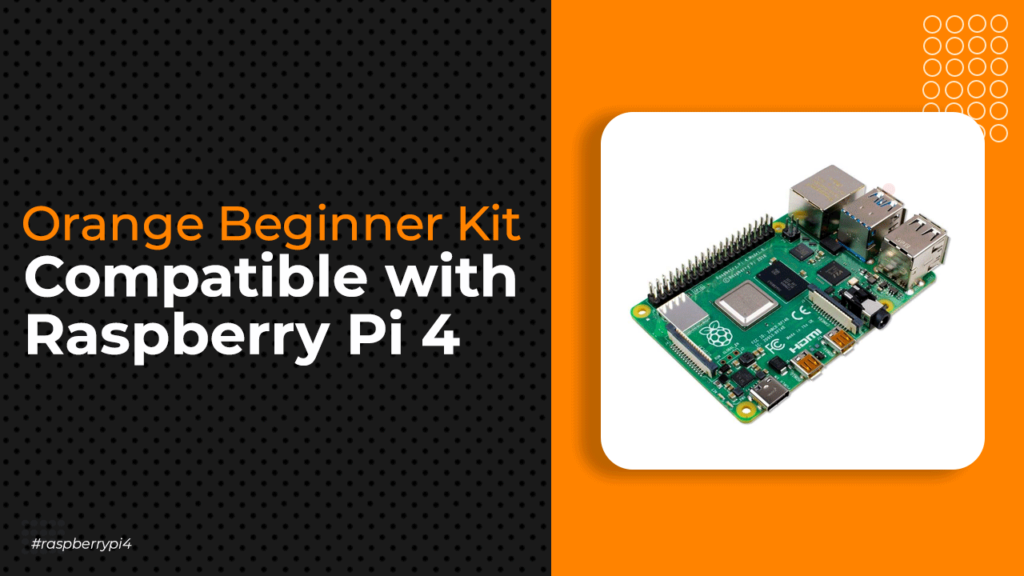
Orange Raspberry Pi 4/Zero Beginner Kit
Hello and welcome back to this blog, where we will be discussing the orange Raspberry Pi Beginner Kit.
This kit contains a wide range of level components. And I believe that learning these components will help you achieve your goal of learning Raspberry Pi programming and Python.

We all wanted to start working with the Raspberry Pi board, but due to a lack of knowledge and direction, we were unable to make the decision of which path to take.
We understand your issue, which is why we came up with the idea of creating Raspberry Pi board kits. Please take a look at the other Raspberry Pi kits that are available.
IDE and Programming Language For Raspberry Pi Board
Because we are working on the Raspberry Pi board, we will need a programming language and an IDE to write the language that will communicate with the peripherals that we will connect to the IDE.
So, because Python is a popular and easy-to-use programming language, we will use Python and the Thorny IDE to run our Python program.
When it comes to installing the IDE and programming language, there is no need to install any additional software on the system. The Thorny IDE and the Python interpreter are already installed on the system.
LED ( Light Emitting Diode)
We’ve all heard of the light-emitting diode. When the required operating voltage is applied to these diodes, they emit light, as the name implies.
It has two terminals, one for the anode and one for the cathode. To turn on the LED, connect these terminals to the VCC and GND pins of the power supply.
If you want to know more about the LED then please refer to the booklet. We have shared all the required information about the LED in the booklet.
LED Interfacing With The Raspberry Pi 4
Now that we understand the fundamentals of the LED, we can begin interfacing it with the Raspberry Pi.
In the image below, we used a 320ohm resistor to connect the LED to the Raspberry Pi. The resistor is used to reduce the operating voltage of the LED.
The raspberry pi generates a 3.3v output on its GPIO pin, which is slightly higher than the LED’s operating voltage. To prevent the LED from being damaged by overvoltage, we used a 320ohm resistor to connect it to the raspberry pi.

Raspberry Pi 4 and Raspberry Pi Zero GPIO
The Following image shows the interfacing diagram of the LED with the Raspberry Pi.


