


How to Setup Raspberry pi for the First Time (with Precautions)
Get Started with Raspberry Pi Now!

In 2021, I assume many of the people in electronics, computer science, & industries know about Raspberry Pi and even have it.
Though setting up raspberry pi seems easy, there could still be issues, or a step missed. So here I have made a descriptive tutorial on things you need to know before setting up and setting up raspberry pi properly.
Precautions
- Discharge your hands
- Take care of the GPIO pins
- Use Official Adapter
- Use a Pi Case
- Add heat sink or fan
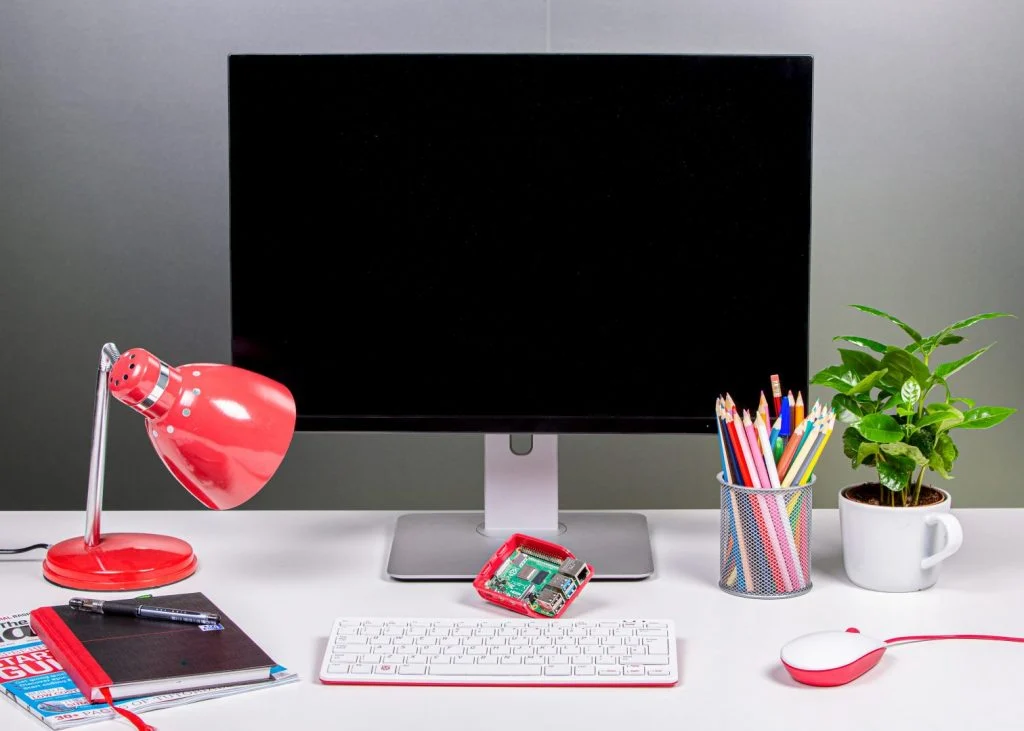
Step 1: Placing the Raspberry Pi
The placement or the place when you put the raspberry pi is very important. Raspberry Pi should not be placed near a liquid source as there could be a chance of spilling over the raspberry pi.
As Raspberry pi doesn’t come with a case, they are bare boards, leading to problems if not taken care of properly. Please do not put it on a metal surface or a conductive surface before turning it on.
Make sure you discharge your hands before touching the raspberry pi, as our hands contain static charges that can harm small components or even kill them. You can discharge your hands by touching any conductive surface.
If you have a Pi case available, make sure to snap it on.
Step 2: Connecting the Power Adapter
Here many people use a different adapter with the raspberry pi. I will suggest you go with the official raspberry pi adapter as many times; the third-party adapters are not properly rated. They sometimes provide higher or lower voltage than mentioned on the adapter, which can kill your pi.

Here the raspberry pi can take input from 4.75VDC – 5.25VDC. Anything above can damage the Pi. It requires a 3Amp adapter for the Pi 4b, 400 & 2.5Amp for 3B+ & below models.
The 4b & 400, the newer Pi, work with the Type C Ports. At the same time, the Older ones have a micro USB port. Make sure before powering on that nothing is touching the GPIO pins, as GPIO Pins are very sensitive and can kill the pi if not used properly.
Step 3: Connecting HDMI Cables
Many HDMI cables are available in the market, which are used, but sometimes the pin length is different, which causes issues when you’re using third-party cases. The suggestion is to go for the official cable as it is very durable and fits in properly.

Many third-party converters available in the local market also tend to have issues, so please check them before buying. It could be the reason you are not able to see the display.
Final Words
In this tutorial, we learn how to set up the raspberry pi properly. We set up raspberry pi in a proper place and connected the adapter & HDMI properly. We also installed OS and set up the raspberry pi. In case if you are having any issues with your pi. Feel free to comment down.