


How to Calibrate Raspberry Pi Touch-screen Display
In this article, we will show you step by step how to calibrate the touchscreen pointer of a Raspberry Pi display for better touch precision.
Welcome back again to another article on Raspberry-pi. In this article, we will show you how to calibrate the touchscreen pointer for better touch precision. I have heard many people having such issues that the touchscreen display is not accurately pointing, so if you’re having such an issue, I request you to check this article till the end.
We recommend you set up your display properly before starting with this calibration setup. So let’s get started.
Touchscreen Calibration
First, let’s start with the calibration step of touch control. This will make the pointer much more accurate and easier to use. We will go step by step.
Step 1: This process needs to be done using superuser (root) privileges. Enter sudo su at the command prompt to enter root mode:
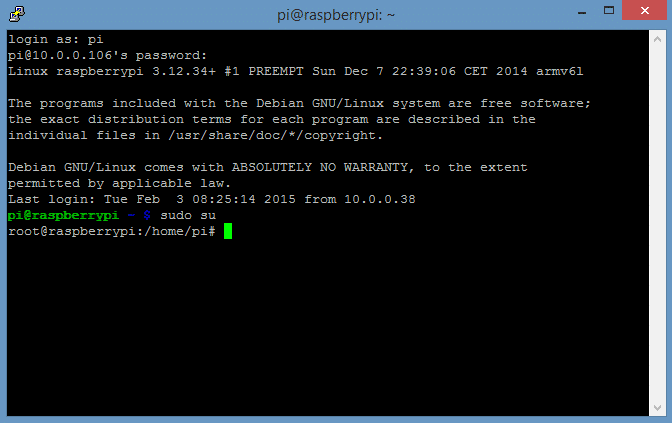
1.0 Root Mode
Step 2: Now we need to install the calibration tool we will be using, xinput_calibrator; and other filters for controlling the touchscreen response. Install the tslib library by entering aptitude install libts-bin:
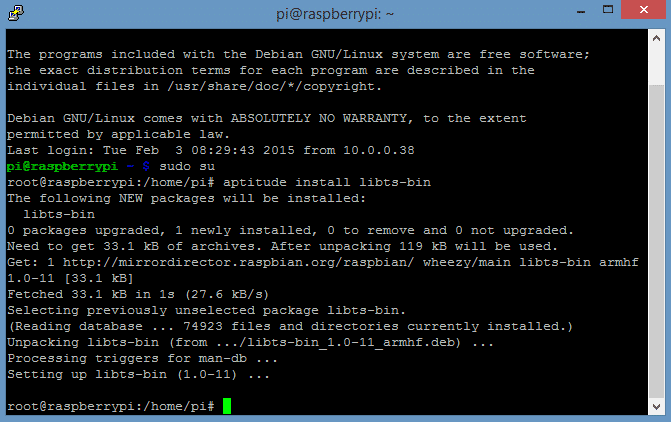
1.1 Installing Calibration tool
This will create a configuration file called /etc/ts.conf, which contains settings for variance and jitter that can be changed to optimize pointer response. See for information about configuring ts.conf.
Step 3: The calibration tool we will use is called ts_calibrate. We will also be using a program to check the results of the calibration called ts_test. In order to use ts_calibrate and ts_test, we must first set proper environmental variables. Enter export TSLIB_TSDEVICE=/dev/input/event0 into the command prompt, then enter export TSLIB_FBDEVICE=/dev/fb1:
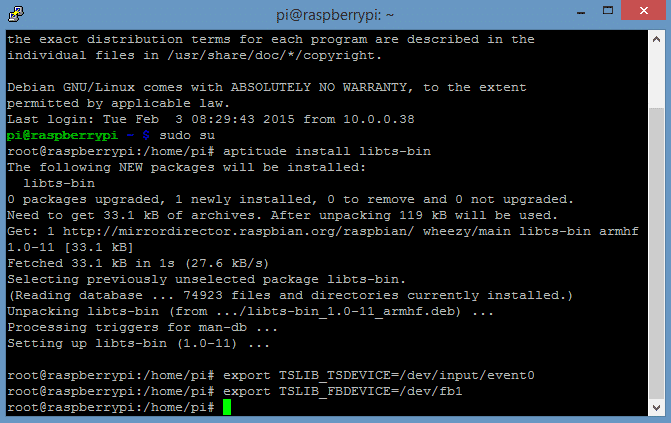
1.2 ts_calibrate command
You will need to re-enter these two lines each time you want to use ts_calibrate or ts_test if you log out of PuTTY or reboot your Raspberry Pi.
Step 4 : Now we can use ts_calibrate. Enter ts_calibrate at the command prompt (make sure you are still in root mode) to run the ts_calibrate program. The program will consecutively display five crosses on different parts of the screen, which you need to touch with as much precision as possible:
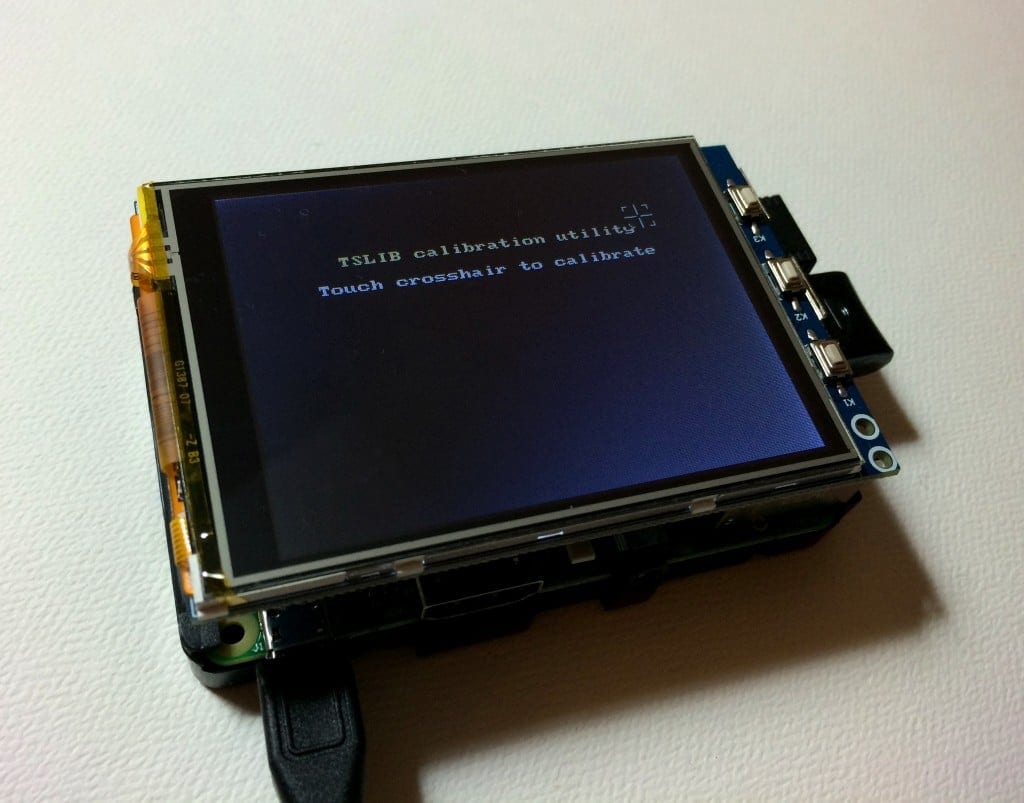
1.3 Calibration utility
PuTTY will output the calibration data after the calibration is complete:
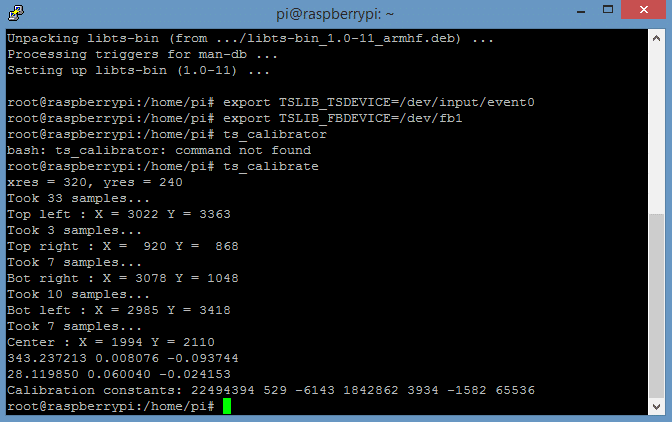
1.4 Calibration data
This calibration data will be written to a calibration file called /etc/pointercal. To view the contents of this file, enter cat /etc/pointercal at the root command prompt.
Step 5: We should now test the calibration by using the ts_test program. Enter ts_test at the root command prompt to start the program:
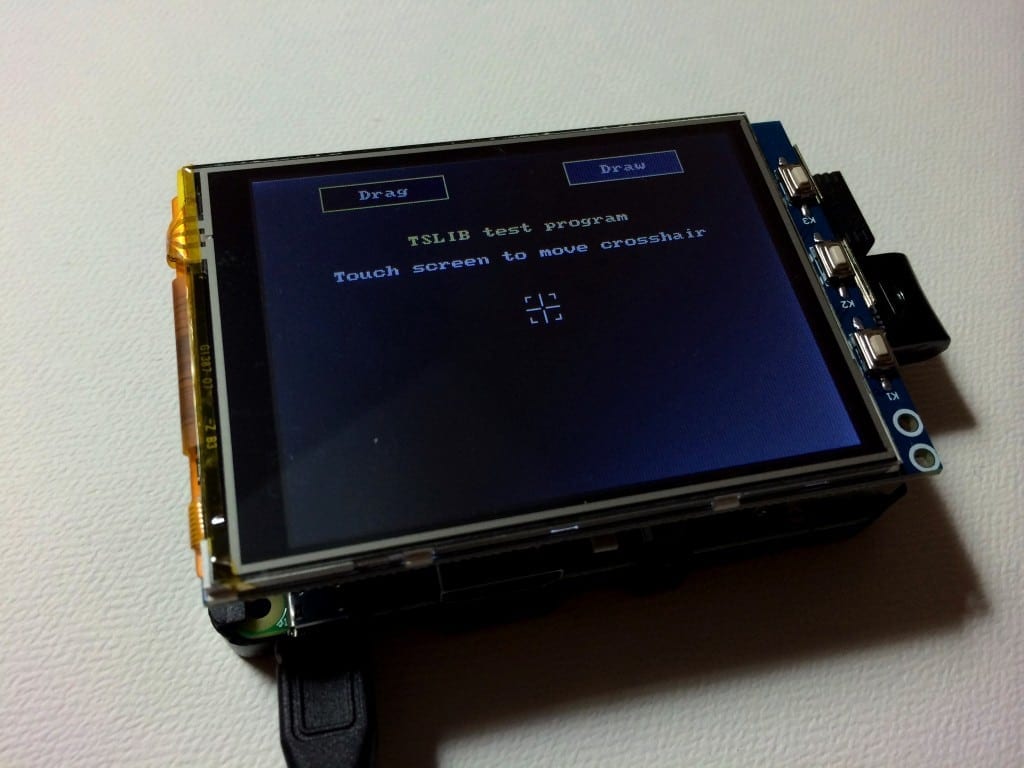
1.5 Test Program
Drag the cross around the screen and observe how closely it follows your finger or stylus to test the accuracy of the calibration. Now press the “Draw” button to enter the drawing mode:

1.6 Test precision
Drag your finger or stylus around the screen to test the accuracy of the calibration.
Press Ctrl-C to stop the test.
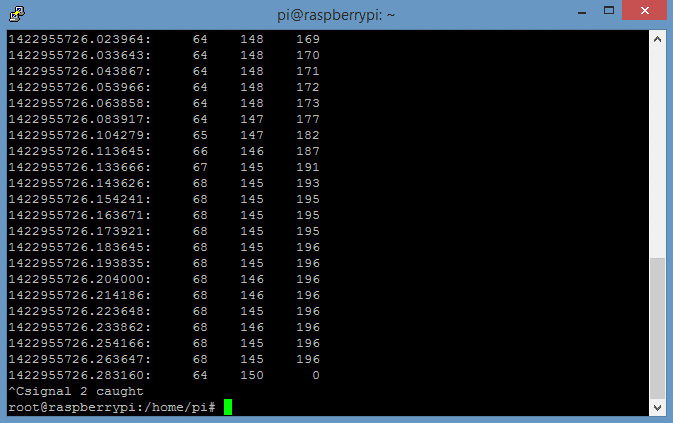
1.7 ts calibrate test
If necessary, run ts_calibrate again to improve the calibration.
Now enter sudo reboot at the command prompt to reboot, and you should be all set to explore the Raspbian desktop on your LCD touch screen!
This is a long procedure to do, but it is well worth it if you want to get the LCD touchscreen calibrated properly. So if you have any trouble setting this up or have anything to say, please leave a comment below. Also, if you found this article useful, please share it with your friends! Until Next Time! Peace Out!