Creating a sound reactive WS2812B LED strip using Raspberry Pi Pico is a fun and creative project that involves programming and electronics. Here are the steps to create your own sound reactive LED strip using Raspberry Pi Pico:
Gather the necessary materials: You will need a WS2812B LED strip, a Raspberry Pi Pico, a breadboard, a microphone module, jumper wires, and a power source.
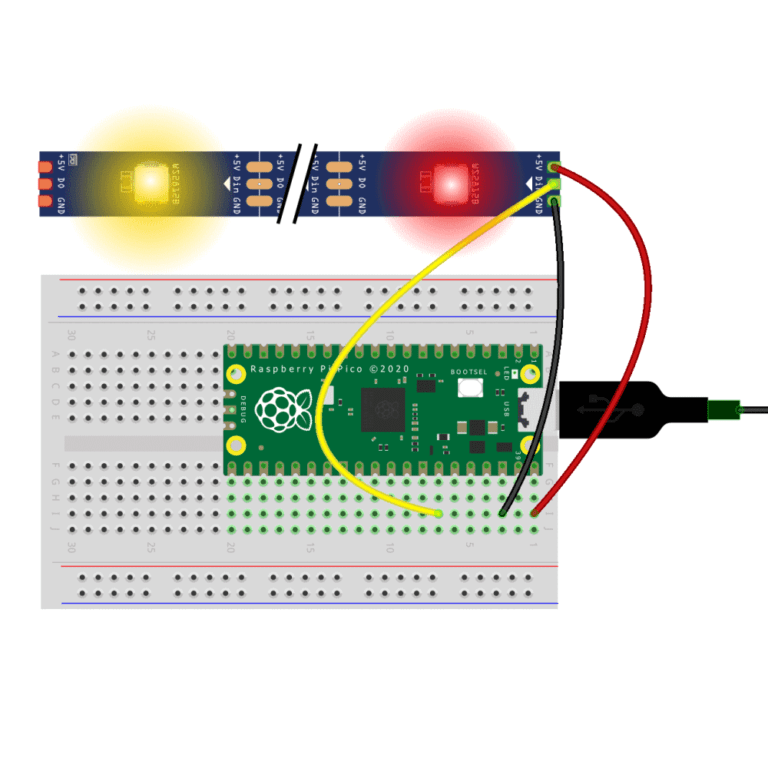
Connect the LED strip to the Raspberry Pi Pico: Connect the LED strip’s data pin to the Pico’s GPIO pin 0. Connect the LED strip’s VCC and GND pins to a separate power source with a capacity of at least 5V.
Connect the microphone module to the Raspberry Pi Pico: Connect the microphone module’s output pin to the Pico’s GPIO pin 26. Connect the microphone module’s VCC and GND pins to the Pico’s 3V3 and GND pins, respectively.
Install the required software: Install the Pico SDK and the FastLED library on your computer.
Write the code: Write a program that reads the microphone module’s output and adjusts the brightness and color of the LED strip based on the sound level. Use the FastLED library to control the LED strip. You can find sample code and tutorials online to help you get started.
Upload the code to the Raspberry Pi Pico: Compile the code and upload it to the Pico using the Pico’s USB connection.
Test the LED strip: Connect the LED strip to the power source and the Raspberry Pi Pico. Turn on the power and test the LED strip to see if it is reacting to sound.
Adjust the code: Depending on how the LED strip reacts to sound, you may need to adjust the code to fine-tune the brightness and color changes.
By following these steps, you can create your own sound reactive WS2812B LED strip using Raspberry Pi Pico. It’s a fun and creative project that combines programming and electronics, and it’s a great way to learn more about these topics.